
쌓고 쌓다
Spring Security JWT 토큰 발급 및 서버 구축 본문
반응형
Authentication(인증) : 누구인지 확인하는 절차로 실제 사용자가 맞는지 로그인하는 과정이라고 생각하면 된다.
Authorization(권한부여) : 인증된 사용자에 대해 특정 리소스에 접근이 가능한 권한을 부여하거나 확인하는 과정이다.
build.gradle
implementation group: 'com.auth0', name: 'java-jwt', version: '4.4.0'
JwtProperties.java
package com.example.spotserver.config.jwt;

import org.springframework.beans.factory.annotation.Value;

public class JwtProperties {

    @Value("${jwt.secrectKey}")
    public static String SECRET_KEY;
    public static int EXPIRE_TIME = 6000;
    public static String TOKEN_PREFIX = "Bearer ";
    public static String HEADER_STRING = "Authorization";
}
토큰과 관련된 설정을 하는 클래스로 시크릿 키, 만료시간 등을 깔끔하게 사용하기위해 만들었다.
시크릿 키는 노출되지 않게 하기위해 application.properties에 작성해둔다.
+ static 변수에 @Value 어노테이션이 먹지않아 null이 뜬다. 다음과 같이 수정해주자.

JwtAuthenticationFilter.java
package com.example.spotserver.config.jwt;

import com.auth0.jwt.JWT;
import com.auth0.jwt.algorithms.Algorithm;
import com.example.spotserver.config.auth.PrincipalDetails;
import com.example.spotserver.securityStudy.TestUser;
import com.fasterxml.jackson.databind.ObjectMapper;
import jakarta.servlet.FilterChain;
import jakarta.servlet.ServletException;
import jakarta.servlet.http.HttpServletRequest;
import jakarta.servlet.http.HttpServletResponse;
import org.springframework.beans.factory.annotation.Autowired;
import org.springframework.security.authentication.AuthenticationManager;
import org.springframework.security.authentication.UsernamePasswordAuthenticationToken;
import org.springframework.security.core.Authentication;
import org.springframework.security.core.AuthenticationException;
import org.springframework.security.web.authentication.UsernamePasswordAuthenticationFilter;

import java.io.BufferedReader;
import java.io.IOException;
import java.util.Date;

// 스프링 시큐리티에서 UsernamePasswordAuthenticationFilter 필터가 있는데
// "/login" 요청해서 유저네임, 패스워드를 post 요청하면 이 필터가 동작함.
// 현재 formLogin을 꺼놨기에 작동 안함.
// 이 필터를 다시 시큐리티 Config에 등록해주면 된다.
public class JwtAuthenticationFilter extends UsernamePasswordAuthenticationFilter {


    private AuthenticationManager authenticationManager;


    public JwtAuthenticationFilter(AuthenticationManager authenticationManager) {
        this.authenticationManager = authenticationManager;
    }


    // "/login" 요청시 로그인 시도를 위해 동작하는 함수
    @Override
    public Authentication attemptAuthentication(HttpServletRequest request, HttpServletResponse response) throws AuthenticationException {
        System.out.println("로그인 시도중");

        // username, pwd를 받아서 authenticationManager로 로그인 시도를 하면 PrincipalDetailsService가 호출 loadUserByUsername 함수 실
        try {

            ObjectMapper objectMapper = new ObjectMapper();
            TestUser testUser = objectMapper.readValue(request.getInputStream(), TestUser.class);
            System.out.println("testUser = " + testUser);

            UsernamePasswordAuthenticationToken authenticationToken =
                    new UsernamePasswordAuthenticationToken(testUser.getName(), testUser.getPassword());
            //PrincipalDetailsService의 loadUserByUsername()가 실행
            //DB에 있는 name과 pwd가 일치하면 authentication이 리턴됌.
            Authentication authentication =
                    authenticationManager.authenticate(authenticationToken);
            PrincipalDetails principalDetails = (PrincipalDetails) authentication.getPrincipal();

            // authentication이 세션에 저장됌, 세션 굳이? 권한 관리를 시큐리티가 대신 해주기때문에 편하려고 세션 저장함.
            // JWT 토큰 사용하며 세션을 만들 이유는 없지만 권한처리때문에 session에 넣음
            return authentication;
        } catch (IOException e) {
            throw new RuntimeException(e);
        }

    }


    // attemptAuthentication 성공시 -> successfulAuth 실행 됌. 여기서 JWT 만들어서 응답하자.
    @Override
    protected void successfulAuthentication(HttpServletRequest request, HttpServletResponse response, FilterChain chain, Authentication authResult) throws IOException, ServletException {
        System.out.println("로그인 성공");
        PrincipalDetails principal = (PrincipalDetails) authResult.getPrincipal();
        String jwtToken = JWT.create()
                .withSubject("톡톡토큰")
                .withExpiresAt(new Date(System.currentTimeMillis() + JwtProperties.EXPIRE_TIME))
                .withClaim("id", principal.getTestUser().getId())
                .withClaim("name", principal.getUsername())
                .sign(Algorithm.HMAC256(JwtProperties.SECRET_KEY));

        response.setHeader(JwtProperties.HEADER_STRING, JwtProperties.TOKEN_PREFIX + jwtToken);
    }

    @Override
    protected void unsuccessfulAuthentication(HttpServletRequest request, HttpServletResponse response, AuthenticationException failed) throws IOException, ServletException {
        System.out.println("로그인 실패");
        super.unsuccessfulAuthentication(request, response, failed);
    }
}
앞전 포스팅에서 추가 및 수정된 부분만 설명하자면
로그인이 성공적으로 수행되었을때 실행되는 successfulAuthentication 부분에 토큰을 발급해 응답하는 부분이 생겼다.
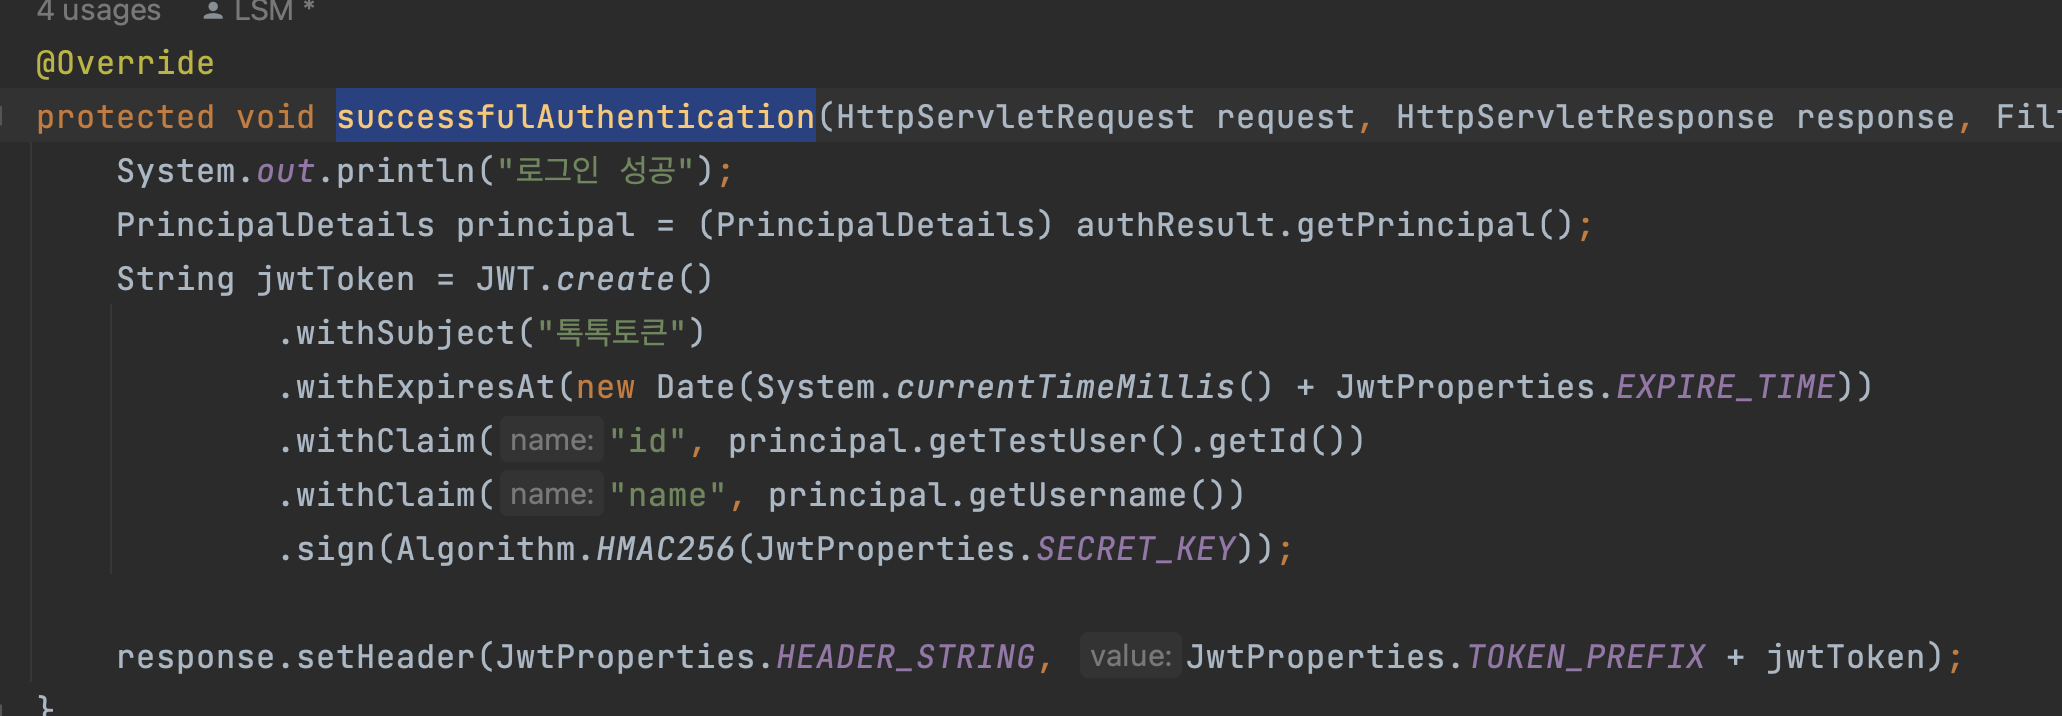
- withSubject : 토큰명
- withExpiresAt : 토큰 만료시간
- withClaim : private Claim이다. 저장할 데이터를 넣는다
- sign : 서명부에 암호화할 알고리즘과 secrectKey를 넣어준다.
이것을 사용자가 사용할 수 있게 응답으로 내려주자.
JwtAuthorizationFilter.java
package com.example.spotserver.config;

import com.example.spotserver.config.jwt.JwtAuthenticationFilter;
import com.example.spotserver.config.jwt.JwtAuthorizationFilter;
import com.example.spotserver.filter.MyFilter3;
import com.example.spotserver.securityStudy.TestUserRepository;
import org.springframework.beans.factory.annotation.Autowired;
import org.springframework.context.annotation.Bean;
import org.springframework.context.annotation.Configuration;
import org.springframework.security.authentication.AuthenticationManager;
import org.springframework.security.config.annotation.web.builders.HttpSecurity;
import org.springframework.security.config.annotation.web.configuration.EnableWebSecurity;
import org.springframework.security.config.annotation.web.configurers.AbstractHttpConfigurer;
import org.springframework.security.config.http.SessionCreationPolicy;
import org.springframework.security.crypto.bcrypt.BCryptPasswordEncoder;
import org.springframework.security.web.SecurityFilterChain;
import org.springframework.security.web.context.SecurityContextPersistenceFilter;
import org.springframework.web.filter.CorsFilter;

@Configuration
@EnableWebSecurity
public class SecurityConfig {

    private CorsConfig corsConfig;
    private TestUserRepository testUserRepository;


    // 해당 메서드의 리턴되는 오브젝트를 IoC로 등록해준다.
    @Bean
    public BCryptPasswordEncoder encodePwd() {
        return new BCryptPasswordEncoder();
    }

    @Autowired
    public SecurityConfig(CorsConfig corsConfig, TestUserRepository testUserRepository) {
        this.corsConfig = corsConfig;
        this.testUserRepository = testUserRepository;
    }

    @Bean
    public SecurityFilterChain filterChain(HttpSecurity http) throws Exception {
        http.addFilterBefore(new MyFilter3(), SecurityContextPersistenceFilter.class);
        http.csrf(AbstractHttpConfigurer::disable);
        http.sessionManagement(session ->
                session
                        .sessionCreationPolicy(SessionCreationPolicy.STATELESS)); // 세션 생성 X

        http.authorizeHttpRequests(request ->
                request
                        .requestMatchers("/user/**").authenticated() // 인증만 된다면 들어갈 수 있는 주소
                        .requestMatchers("/manager/**").hasAnyAuthority("admin", "manager")
                        .requestMatchers("/admin/**").hasAuthority("admin")
                        .anyRequest().permitAll());

        http.formLogin(formLogin ->
                formLogin
                        .disable()); // 폼 태그 로그인 안쓰겠다.

        http.httpBasic(httpBasic ->
                httpBasic
                        .disable()); // 기본적인 HTTP 로그인 안쓰겠다. (ID, PW를 항상 포함하여 요청함)

        http.apply(new MyCustomDsl());

        return http.build();
    }

    public class MyCustomDsl extends AbstractHttpConfigurer<MyCustomDsl, HttpSecurity> {
        @Override
        public void configure(HttpSecurity http) throws Exception {

            AuthenticationManager authenticationManager = http.getSharedObject(AuthenticationManager.class);
            http
                    .addFilter(corsConfig.corsFilter())
                    .addFilter(new JwtAuthenticationFilter(authenticationManager))
                    .addFilter(new JwtAuthorizationFilter(authenticationManager, testUserRepository));

        }
    }

}
앞전 코드와 달라진 부분은 별로 없다.
UserRepository를 주입 받고. 새로운 필터 등록을 addFilter에 JwtAuthorizationFilter를 만들어 생성자로 함께 넣어주는
부분만 추가되었다.
JwtAuthorizationFilter.java
package com.example.spotserver.config.jwt;

// 시큐리티 필터중 BasicAuthenticationFilter가 있다.
// 권한 또는 인증이 필요한 요청을 했을때 이 필터를 탄다.
// 권한 또는 인증이 필요없다면 안탄다.

import com.auth0.jwt.JWT;
import com.auth0.jwt.algorithms.Algorithm;
import com.example.spotserver.config.auth.PrincipalDetails;
import com.example.spotserver.securityStudy.TestUser;
import com.example.spotserver.securityStudy.TestUserRepository;
import jakarta.servlet.FilterChain;
import jakarta.servlet.ServletException;
import jakarta.servlet.http.HttpServletRequest;
import jakarta.servlet.http.HttpServletResponse;
import org.springframework.security.authentication.AuthenticationManager;
import org.springframework.security.authentication.UsernamePasswordAuthenticationToken;
import org.springframework.security.core.Authentication;
import org.springframework.security.core.context.SecurityContextHolder;
import org.springframework.security.web.authentication.www.BasicAuthenticationFilter;

import java.io.IOException;
import java.util.Optional;

public class JwtAuthorizationFilter extends BasicAuthenticationFilter {


    private TestUserRepository testUserRepository;

    public JwtAuthorizationFilter(AuthenticationManager authenticationManager, TestUserRepository testUserRepository) {
        super(authenticationManager);
        this.testUserRepository = testUserRepository;
    }

    @Override
    protected void doFilterInternal(HttpServletRequest request, HttpServletResponse response, FilterChain chain) throws IOException, ServletException {
        String jwtHeader = request.getHeader("Authorization");

        // header가 있는지 확인
        if(jwtHeader == null || !jwtHeader.startsWith("Bearer")) {
            System.out.println("header 미통과");
            chain.doFilter(request, response);
            return;
        }

        String jwtToken = jwtHeader.replace(JwtProperties.TOKEN_PREFIX, "");
        Long id = JWT.require(Algorithm.HMAC256(JwtProperties.SECRET_KEY))
                .build()
                .verify(jwtToken)
                .getClaim("id")
                .asLong();
        System.out.println("서명 실행");

        // 서명이 정상적으로 됨
        if(id != null) {
            System.out.println("서명 통과");
            TestUser testUser = testUserRepository.findById(id).get();
            System.out.println("testUser = " + testUser);
            PrincipalDetails principalDetails = new PrincipalDetails(testUser);

            Authentication authentication = new UsernamePasswordAuthenticationToken(principalDetails, null, principalDetails.getAuthorities());

            // 세션에 강제 등록
            SecurityContextHolder.getContext().setAuthentication(authentication);
            chain.doFilter(request, response);
        }


    }
}- 헤더에 Authorization 값이 없다면 필터를 이어서 계속 타도록 doFilter를 작성해준다.
- Authorization이 존재하면 JWT.require를 가지고 토큰을 뜯어본다. 토큰에서 유저PK인 id를 추출.
- id가 null이 아니라면 서명이 제대로 된것으로 유저를 찾으면 된다.
- setAuthentication 하는 과정은 세션에 강제 등록하여 시큐리티로 권한 검증을하기 위해 세션에 등록하는 것이다.
이제 구현 결과를 보자.

"/user"는 user 권한이 있어야한다.
Authorization 헤더 없이 요청하니 403에러로 Forbidden이 뜬다.
"/login"으로 매니저 계정으로 로그인하여 JWT 토큰을 발급 받는다.

매니저 계정의 JWT 토큰과 함께 요청하니 잘 처리가 된다.

반응형
'Dev Log' 카테고리의 다른 글
| BCryptPasswordEncoder.encode 값이 매번 달라지는 이유 및 비교방법 (0) | 2024.01.20 |
|---|---|
| @AuthenticationPrincipal로 컨트롤러에서 회원 정보 받기 (0) | 2024.01.19 |
| JSON Web Token? (0) | 2024.01.18 |
| Spring Security JWT를 위한 로그인 (0) | 2024.01.18 |
| Spring Security 필터 (0) | 2024.01.17 |
'Dev Log' Related Articles
more


