
CKEditor5 이미지 업로드 방법 및 CSRF 처리
SpringBoot와 javascript를 이용해 이미지 파일 업로드를 구현해보자.
공식 레퍼런스는 https://ckeditor.com/docs/ckeditor5/latest/framework/deep-dive/upload-adapter.html 이다.
우선 CKEditor를 통해 서버로 파일을 전송 받는 과정까지만 코드를 작성했다.
에디터를 통해 업로드 요청온 파일을 처리하는 Controller 코드는 다음과 같다.
@PostMapping("/test")
@ResponseBody
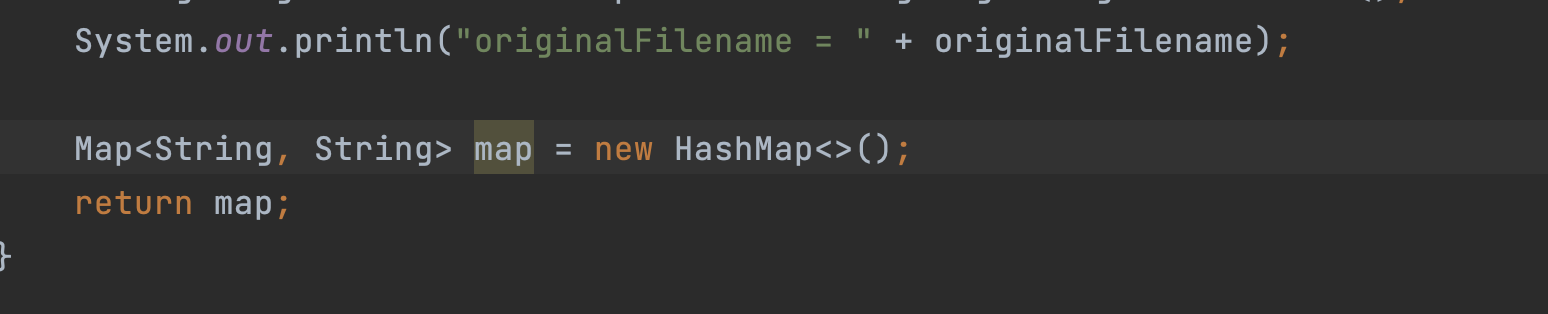
public Map test(@RequestPart(name = "posterImages", required = false) MultipartFile uploadPosterImages) {
String originalFilename = uploadPosterImages.getOriginalFilename();
System.out.println("originalFilename = " + originalFilename);
Map<String, String> map = new HashMap<>();
map.put("url", "이미지 경로");
return map;
}multipart/form-data로 전송오는 formData의 name부분이 "posterImage" 인것을 업로드한 파일로 구분하자.
반환값으로 url을 통해 서버에 요청시 보여줄 이미지 경로를 넣어주자.
업로드한 이미지 파일을 저장 처리하는 로직후에 처리 저징된 URL을 반환해주면 된다.
만약 넣지 않으면 업로드한 이미지 미리보기가 base64로 태그로 들어가 출력된다.
upload-adapter.js
class UploadAdapter {
    constructor(loader) {
        this.loader = loader;
    }

    upload() {
        return this.loader.file.then( file => new Promise(((resolve, reject) => {
            this._initRequest();
            this._initListeners( resolve, reject, file );
            this._sendRequest( file );
        })))
    }

    // Aborts the upload process.
    abort() {
        if ( this.xhr ) {
            this.xhr.abort();
        }
    }

    _initRequest() {
        const xhr = this.xhr = new XMLHttpRequest();
        xhr.open('POST', 'http://localhost:8080/test', true);

        const csrfToken = $('meta[name="_csrf"]').attr("content");
        const csrfHeader = $('meta[name="_csrf_header"]').attr("content");
        xhr.setRequestHeader(csrfHeader, csrfToken);

        xhr.responseType = 'json';
    }

    _initListeners(resolve, reject, file) {
        const xhr = this.xhr;
        const loader = this.loader;
        const genericErrorText = '파일을 업로드 할 수 없습니다.'

        xhr.addEventListener('error', () => {reject(genericErrorText)})
        xhr.addEventListener('abort', () => reject())
        xhr.addEventListener('load', () => {
            const response = xhr.response
            if(!response || response.error) {
                return reject( response && response.error ? response.error.message : genericErrorText );
            }

            console.log(response);

            resolve({
                default: response.url //업로드된 파일 주소
            })
        })
    }

    _sendRequest(file) {
        const data = new FormData()
        data.append('posterImage', file)

        this.xhr.send(data)
    }
}- xhr.open() : 이미지 업로드를 처리할 url을 작성해주자.
- xhr.setRequestHeader : Spring Security를 사용중이라 POST 요청을 위해 CSRF 토큰을 헤더에 포함해주자.
- Spring Security를 사용하며 CSRF를 disable하지 않은 상태라면 이미지 업로드 요청시 403 에러가 발생한다.
- data.append() : 서버에서 @RequestPart에 처리할 name과 함께 file을 보내주자.
ClassicEditor.create()
    <script type="module">
        import {
            ClassicEditor,
            Essentials,
            Bold,
            Italic,
            Font,
            Paragraph,
            Image,
            ImageUpload,
        } from 'ckeditor5';


        function MyCustomUploadAdapterPlugin(editor) {
            editor.plugins.get('FileRepository').createUploadAdapter = (loader) => {
                return new UploadAdapter(loader)
            }
        }

        ClassicEditor
            .create(document.querySelector('#editor'), {
                plugins: [Essentials, Bold, Italic, Font, Paragraph, Image, ImageUpload, MyCustomUploadAdapterPlugin],
                toolbar: {
                    items: [
                        'undo', 'redo', '|', 'bold', 'italic', '|',
                        'fontSize', 'fontColor', 'fontBackgroundColor', 'imageUpload'
                    ]
                }
            })
            .then(newEditor => {
                window.editor = newEditor;
            })
            .catch( /* ... */);
    </script>
여기에 기본 에디터 생성 예시에서 추가된 점은
import에 [Image, ImageUpload]가 추가되었고,
plugins에 [Image, ImageUpload, MyCustomUploadAdapterPlugin],
toolbar에 imageUpload를 추가해주자.
결과

현재 다음과 같이 임의의 이미지 경로를 하드코드해서 반환하도록 한 상황이다.
어떠한 이미지를 넣어도 현재 에디터에 하드코딩한 이미지 경로가 들어가며 반환된다.
이런 방식으로 url에 처리한 이미지 파일 경로를 넣어주면 에디터에 이미지를 넣을 수 있다.
앞서 이야기한 url 경로를 반환해주지 않을경우 어떻게 될까?
위의 이미지를 업로드해보자.
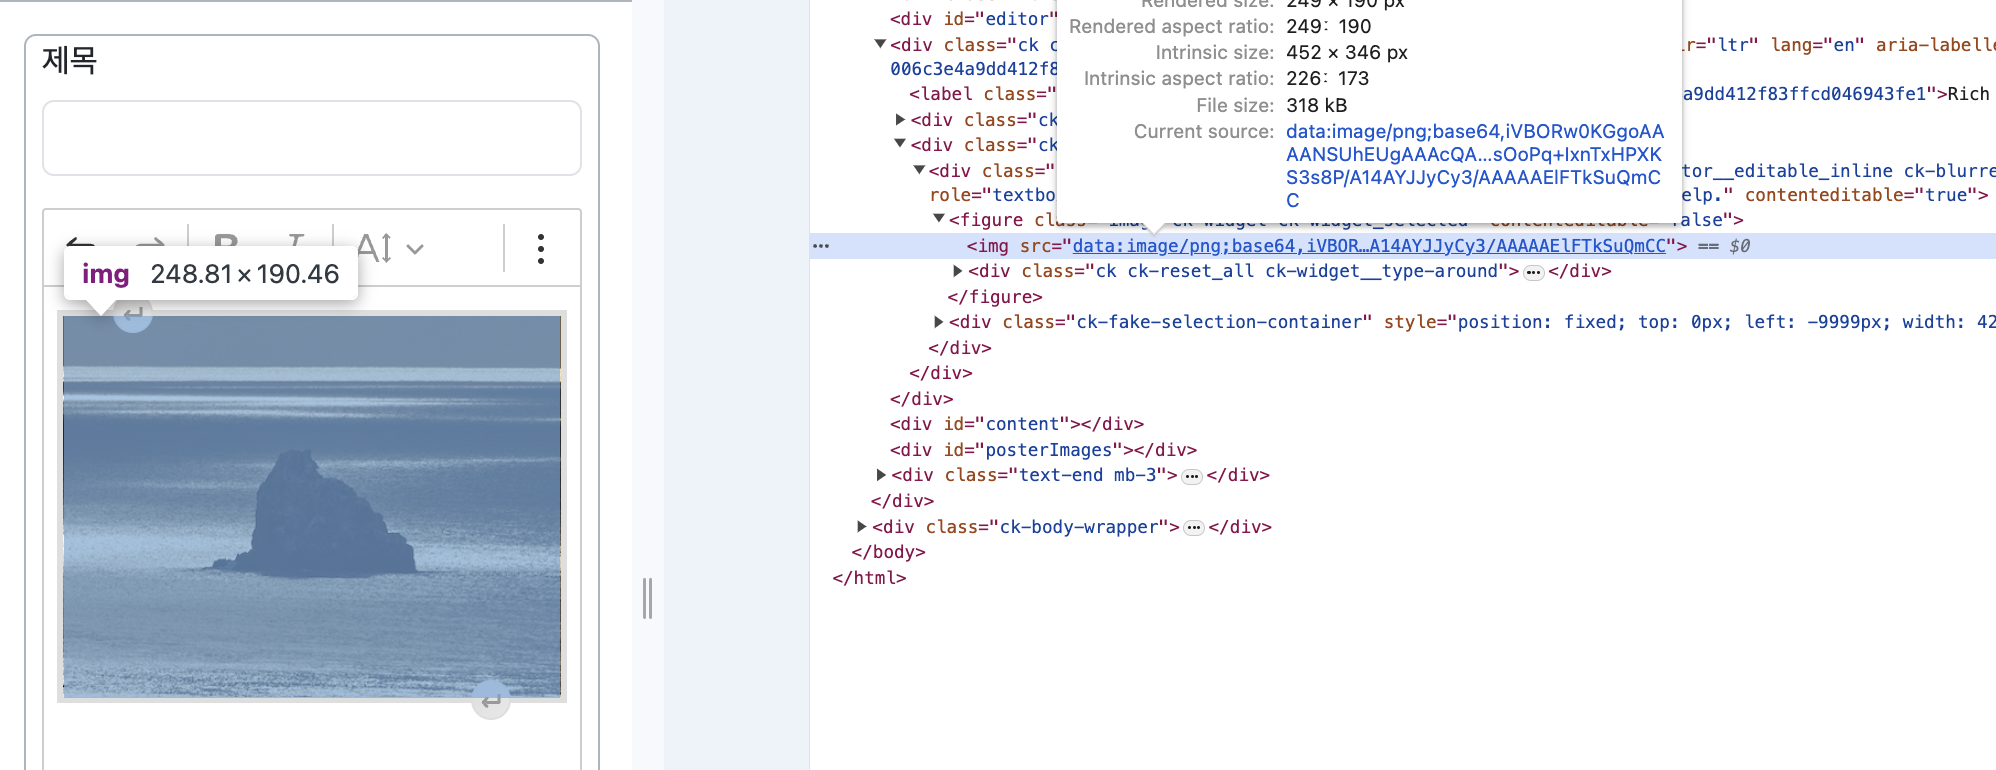
base64로 인코딩된 이미지가 나온다.
이제 업로드한 파일을 게시글과 어떻게 연관 관계를 맺어 함께 관리할 수 있을까 고민이 된다.
다른 웹 사이트들도 업로드한 이미지 파일에 대해 서버에 바로 파일을 저장하고 게시글 내용에 이미지 경로를 넣는다.
게시글과 이미지 파일을 연관시켜 저장하고 관리하는 방법에 대해 고민해볼 필요가 있을 것 같다.